

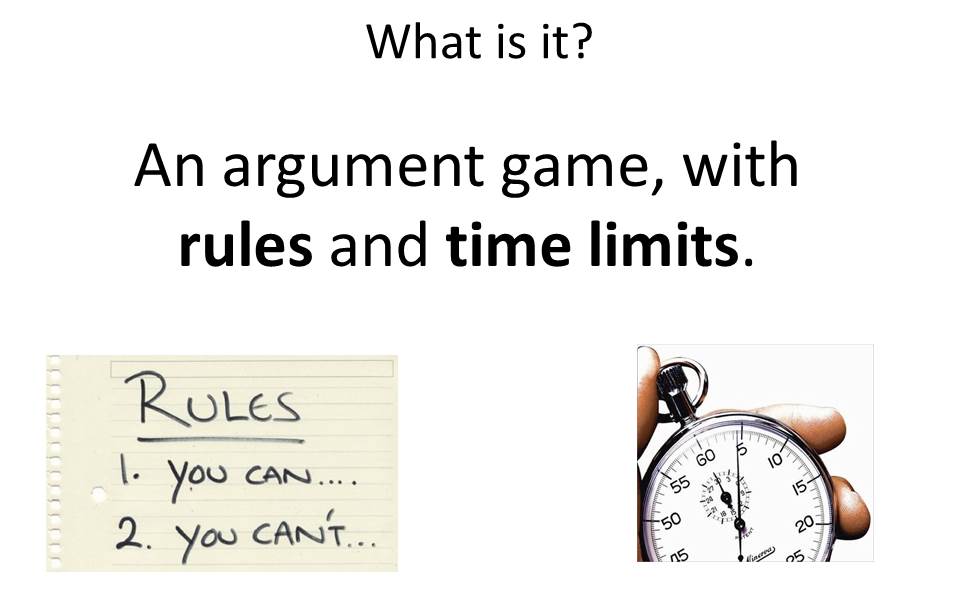
*This is Day 2 of an 8-lesson series called “How I Teach Debate to English Learners”.
I. Warm-up (12 min)
- Seat students in pairs (different pairs than Day 1)
- Tell the whole class that you will put a statement on the screen. They should shout out whether they agree or disagree with it.
- Proceed to Debate Intro PPT, Slide 1:

- Because teenagers are disagreeable by nature, the first voice is usually, “Disagree!”
- Locate the body connected to the voice, walk up to the student, thank them sincerely for their eager participation, and then tell them, “But, you are absolutely 100% wrong, and I’ll tell you why.”
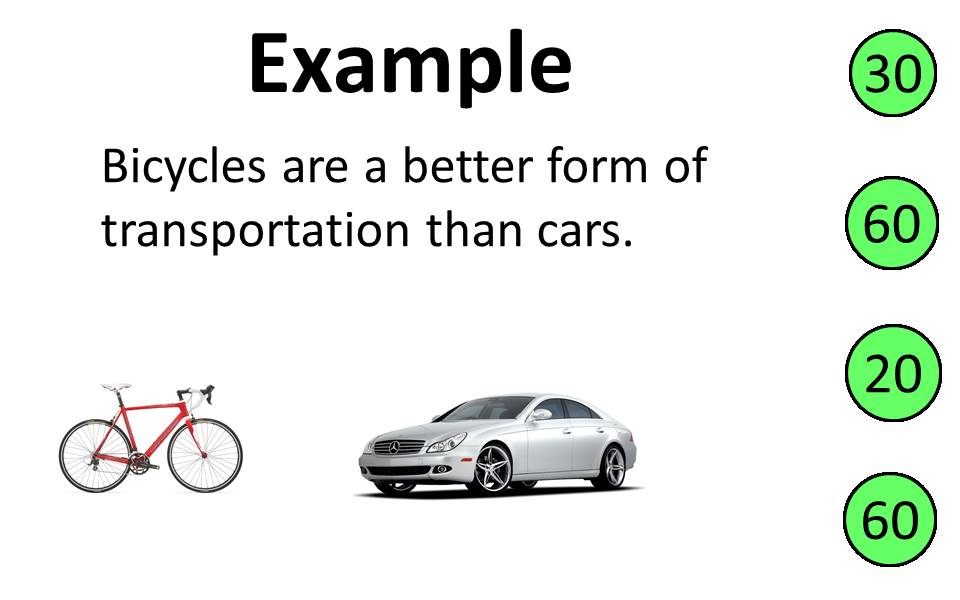
- Then, make an impassioned speech about how bicycles are better for the environment, they’re better for our health, and they are more affordable (among other things).
- At the end of the speech, raise your hands in flawless victory, and tell students class is over because you are right and there is nothing else left to say. Start walking out of the room.
- To the dismay of their classmates, who would be happy to end class, the student who spoke up at the start of class will speak up again to defend their honor. And the magic beans begin to sprout:
- Student: “Electric cars don’t use gasoline, so they don’t harm the environment … cars are faster if you’re traveling a long distance … you can’t rest on a bicycle, so it can cause stress, which is bad for health …”
- Other students, smelling blood, will jump in: “You can’t carry much luggage on a bicycle.” “And cars can carry more people too, so you can travel with your family.”
- Finally, a soft-spoken student in the back corner of the room will peep:
“What about rain?”
which deals you a fatal blow and causes the whole class to hoot in affirmation and applaud your swift and stunning demise.
- Take a step back, admit they have some good points, BUT SO DID YOU, and ask the class: “What did we just do?” Elicit “debate”.
- Tell students they will have some mini-debates with their partners to warm up today, hand out Debate Note-taking Structure, and guide them through Slides 2-4:
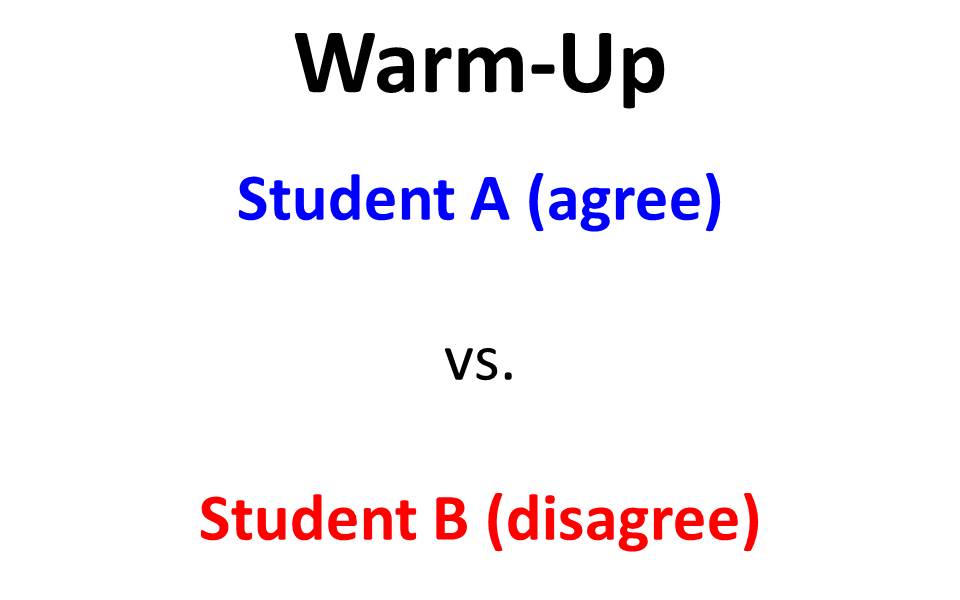

- After introducing the structure, assign half the students to be Student A and the other half to be Student B. The A’s must agree with the statement and speak first, while the B’s must disagree with the statement and speak second.
- Show Warm-Up 1 (Slide 5), start the 30-second note-taking countdown timer, and proceed.
- Repeat the procedure with Warm-Up 2 (Slide 6), but this time B’s must agree and speak first, while A’s must disagree and speak second.


II. Presentation (15 min)
*Note: There is more teacher talk during this class than any other class I teach. It’s critical to provide students the necessary scaffolding for the rest of the unit.
- After students finish their warm-up mini-debates, tell them we are going to talk more about debating today, and show them Slide 7:

- Ask students, who might be momentarily paralyzed by the above image, “Who’s right?” Students should express their opinions.
- Ask students, “Why do I think this is the perfect image for the topic of debate?”
- Elicit, “Because nobody is right.” or “They are both right.” or “There are good points on both sides.”
- Remind students of our Bicycles vs. Cars debate and how we BOTH had good points. Rain shmain!
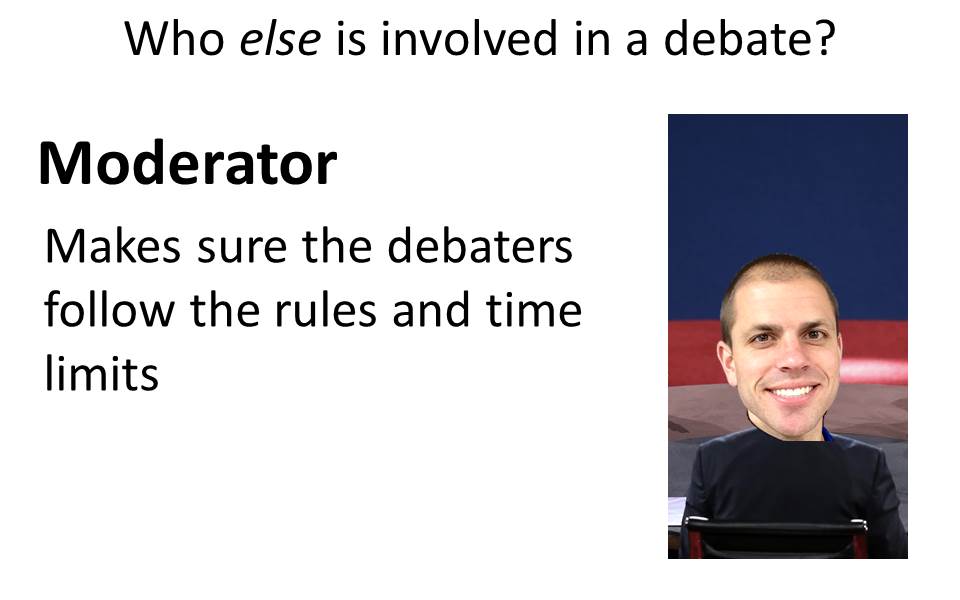
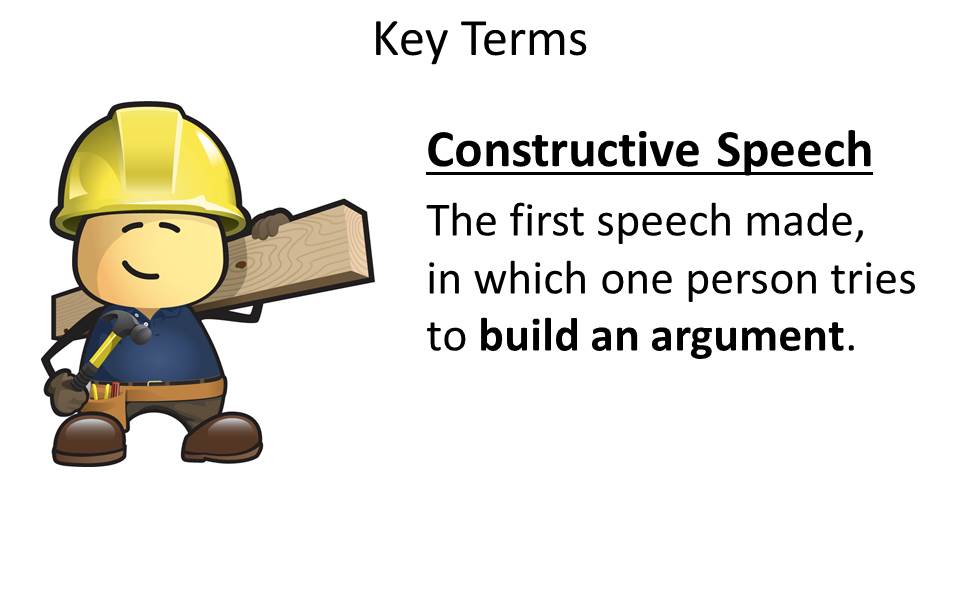
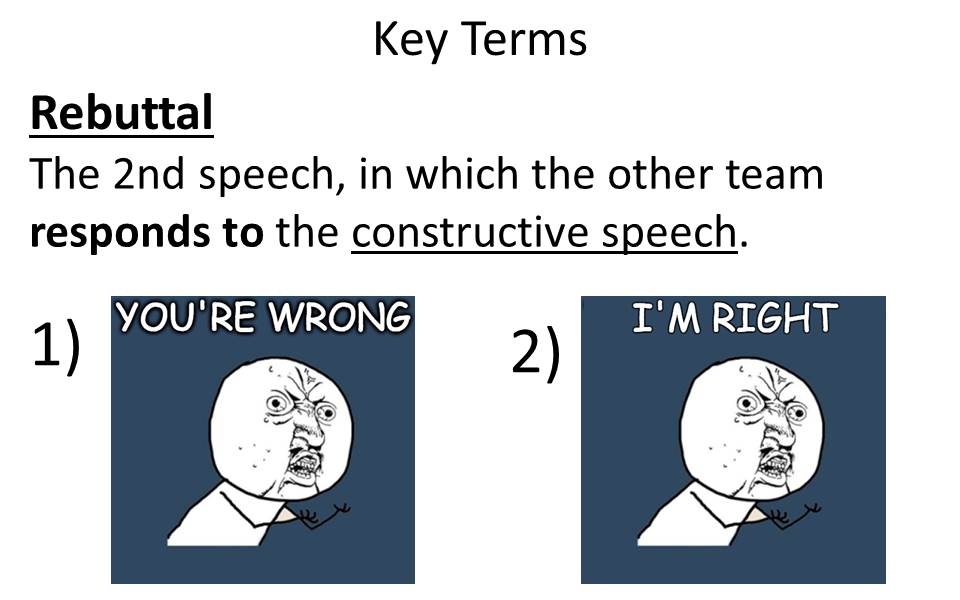
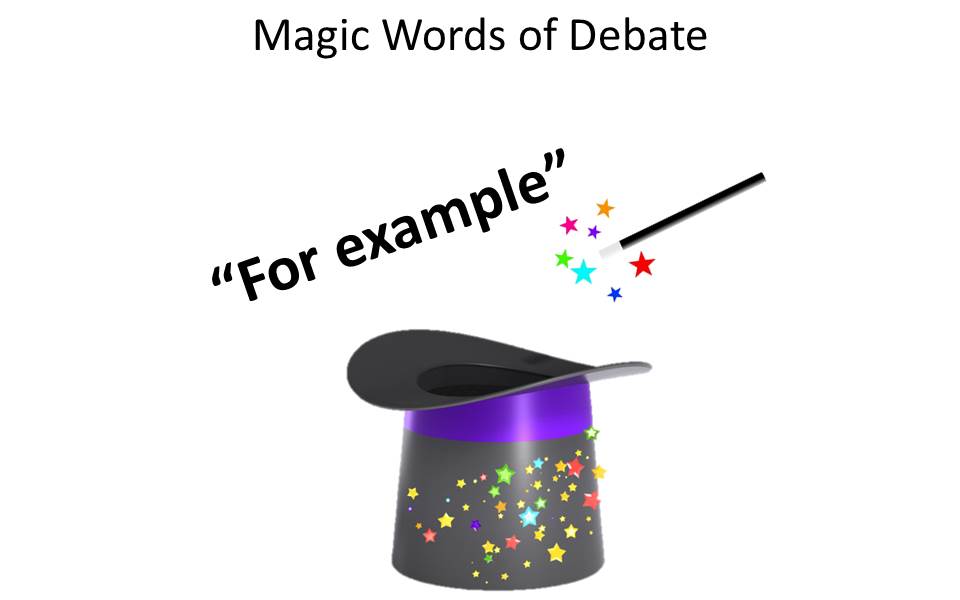
- Guide students through PPT, Slides 8-17. Ask students questions and encourage their participation constantly to keep them engaged.


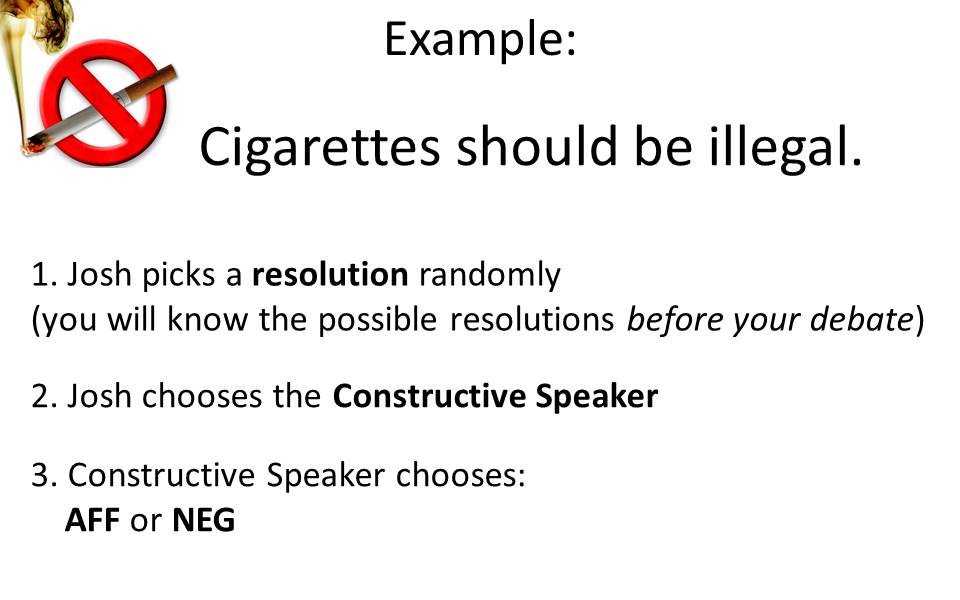
- At this point, tell students we are going to show an example. Choose a pair of students and simulate the procedure with them using Slides 18-19.
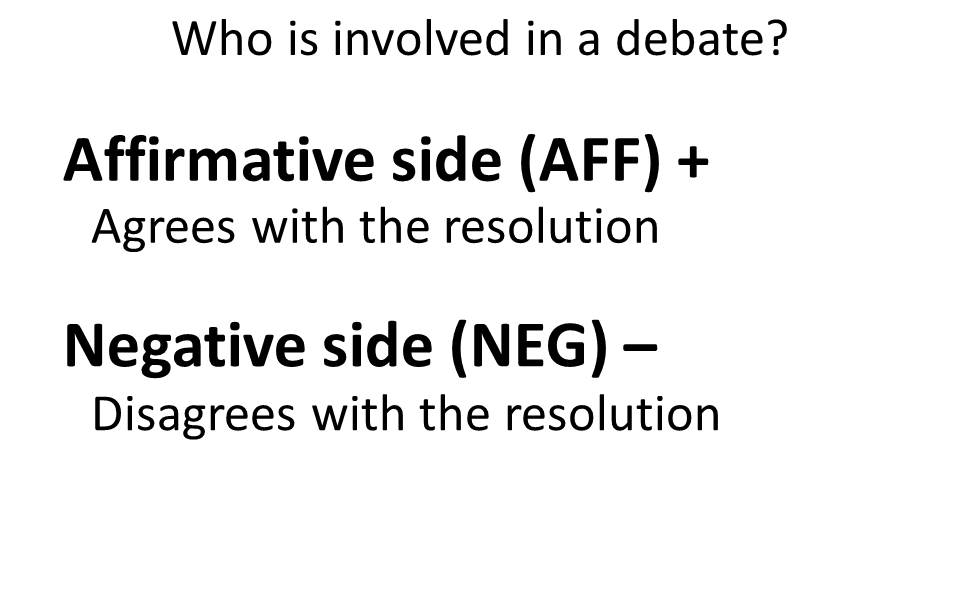
- Remind students that the Constructive Speaker chooses to agree or disagree with the resolution. It’s entirely possible for the Constructive Speaker to DISAGREE with the resolution, which means the Rebuttal Speaker would then AGREE with the resolution. This is always confusing at first for students, but they catch on fast.
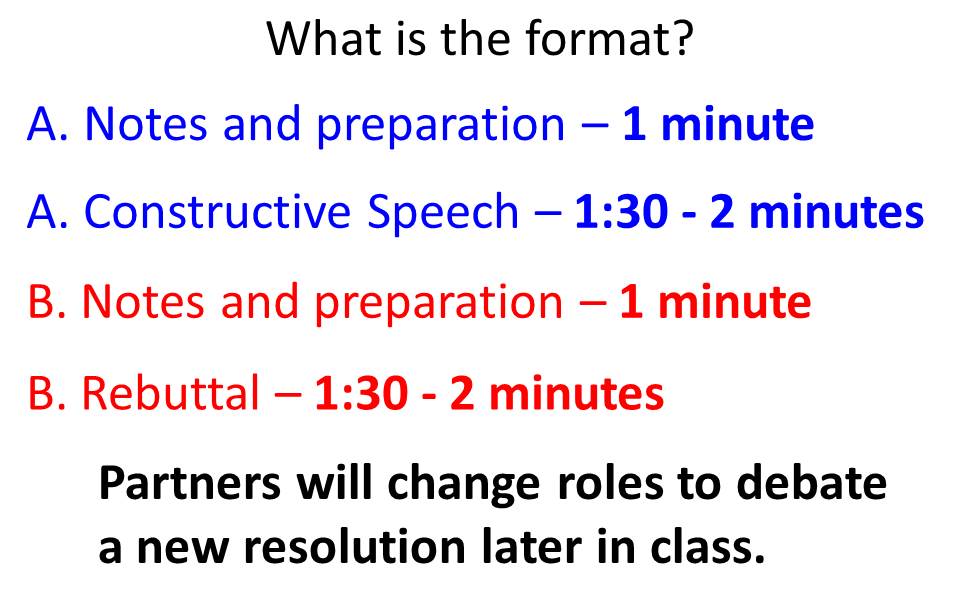
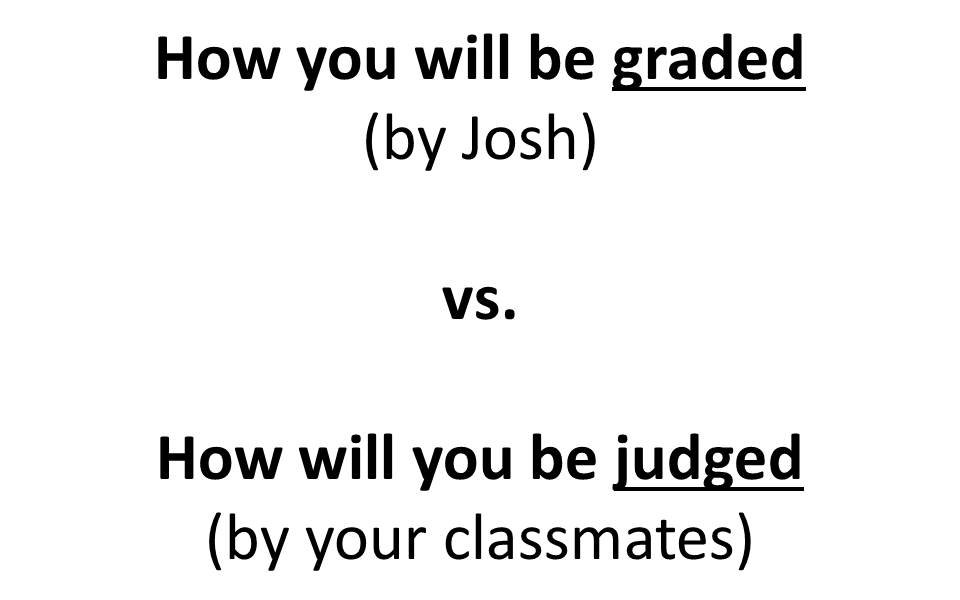
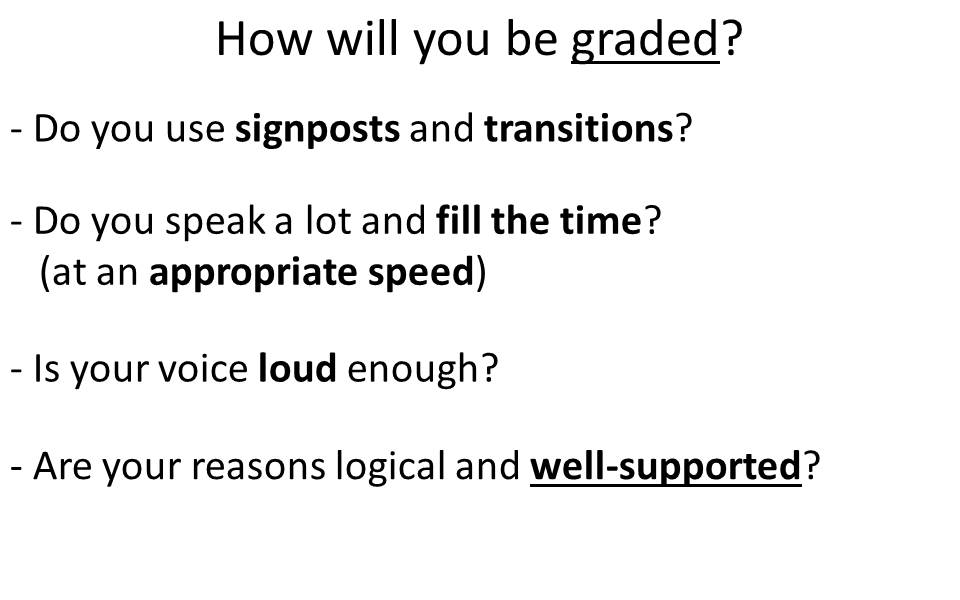
- With Slides 20-23, explain to students how they will be assessed and make it very clear that other students have absolutely no say in their grade.

III. Practice (15 min)
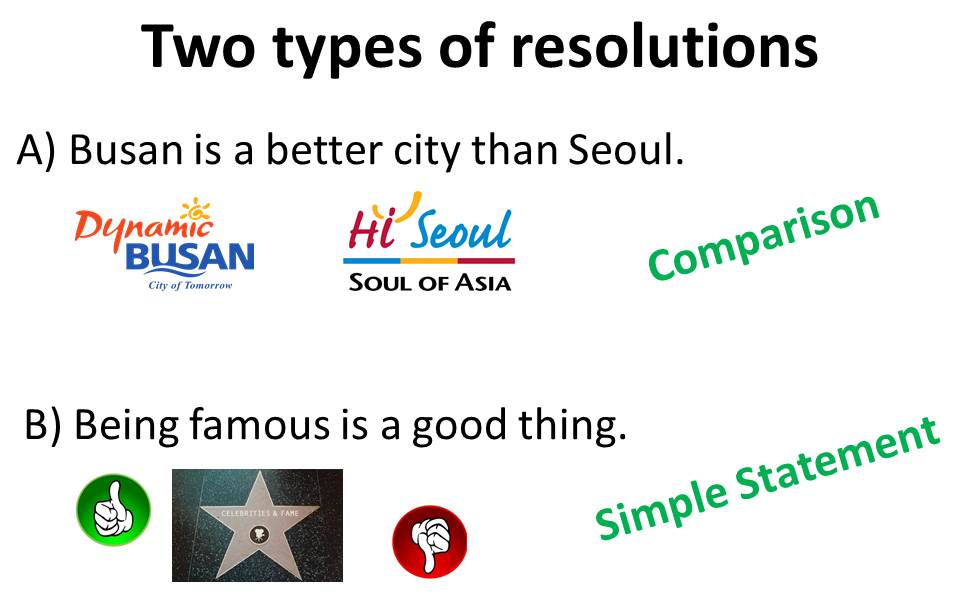
- Tell students, “Now that you know HOW we will debate, we need to decide WHAT we will debate.”
- Guide students through Slides 24-26, and have each partnership create 3 resolutions, telling students that you will gather resolutions from all classes and choose some of the best for our class debates.
(*Hand out dictionaries to each pair if possible.)
- Circulate and offer guidance to struggling pairs. After each group has created at least 2 solid resolutions, combine pairs into groups of 4, give them large white boards and markers and guide them through Slide 27:

IV. Production (8 min)
- Have a representative from each group bring up their white boards with their 3 resolutions so they can present them to the class. Ask questions to clarify any confusion or grammar issues.
- After each group has shared and put their white boards on the chalk board, take a photo to save all the resolutions to sift through when choosing resolutions for class debates.
(*Ultimately, we will likely only use a handful or so of the students’ ideas for our class debates, but going through the process of creating resolutions is still worthwhile.)


Materials
– Debate Intro
– Debate Note-taking Structure
– Dictionaries
– Whiteboards and Markers
– Camera (Phone)
